My Vessels Mode 

My Vessels Mode allows you to organize vessels into groups and view only those vessels on the map.
In My Vessels Mode, you can:
- create vessel groups
- individually add or remove vessels from groups, or move vessels from one group to another
- bulk add vessels to a group
- organize vessel groups by color to them easier to identify on the map
You can also use My Vessels Mode to receive email reports with the latest information for all vessels in a group.
Getting started with My Vessels
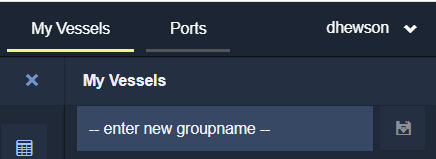
Create a new group by typing a name into the -- enter new groupname -- form at the top of the My Vessels sidebar and pressing the Save button  .
.
Adding vessels to a group one at a time
When you have a vessel open in the Vessel Information Sidebar, click on the Add to my vessels drop-down and choose the group you want to add them to.
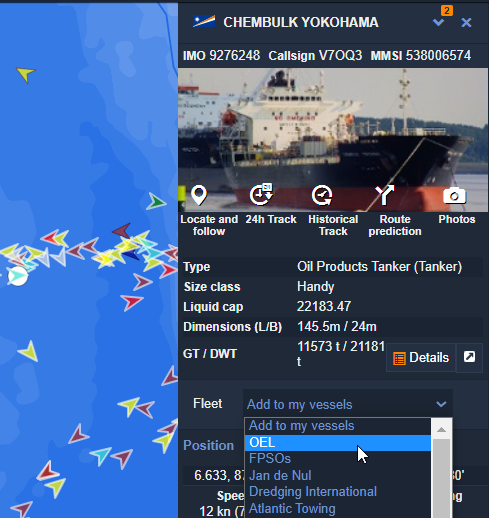
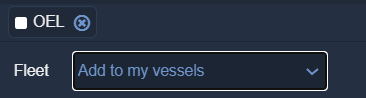
Once the vessel has been added to the group, a label will appear above the Add to my vessels drop-down with a label showing the group name. You can remove it from the group by clicking on the x button next to the group name.
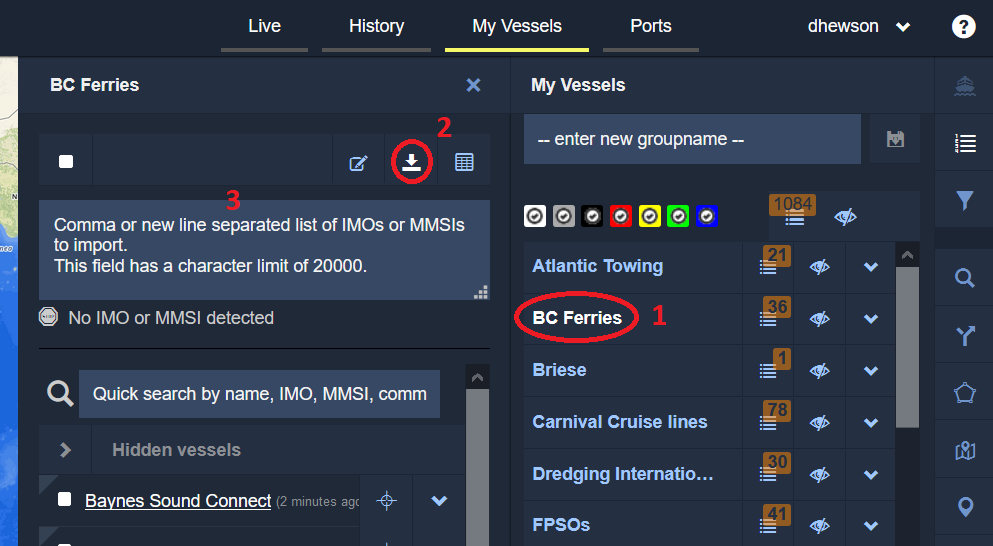
Bulk adding vessels to a group
- Select the group name.
- Click on the download icon
 , which will open a new box.
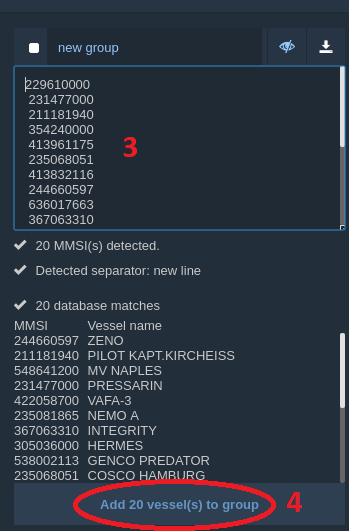
 Enter the list of IMO or MMSI numbers of the vessels you want to add to your group (Note: you can copy/paste from a spreadsheet or text file). A list of all vessels in our database with matching IMO and/or MMSI numbers will appear.
Click Add vessel(s) to group to add these vessels to your vessel group.
Using the My Vessels sidebar
- See all vessels in a group by clicking on the group name in the sidebar, which will open a second sidebar. More information in the Working with My Vessels groups section below.
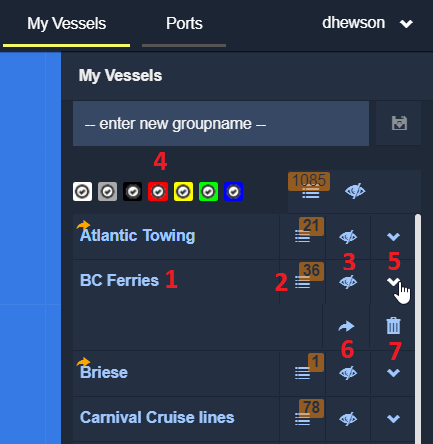
- View detailed information for all vessels in one group by clicking on the list icon
 next to the the group name. The orange number on this icon indicates how many vessels are already in the group. More information in the Detailed vessel list section below.
 - View or hide a group on the map by clicking on the eye icon
 .
. - Filter vessels by color using the color check box row
 . More information in the Organizing vessels by color section below.
 - Click on the down arrow
 beside the group name for additional options.
 - Share groups with other users in your company's account by clicking on the share icon
 .
. - Delete groups by clicking on the garbage can icon
 .
.
Working with My Vessels groups
Click on the group name to open a second sidebar listing all the vessels contained in the group.
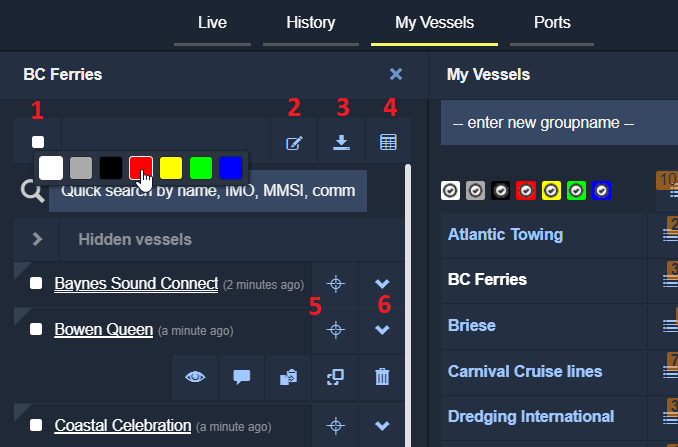
- Select the group's color on the map using the color picker at the top left.
- Change the group's name by clicking on the Edit button .
- Add vessels to the group in bulk by clicking on the download icon .
- Create vessel reports by clicking on the reports icon report icon
 .
. - Locate a vessel on the map by clicking on the locator icon
 .
. - Click on the down arrow beside the vessel name for additional options.
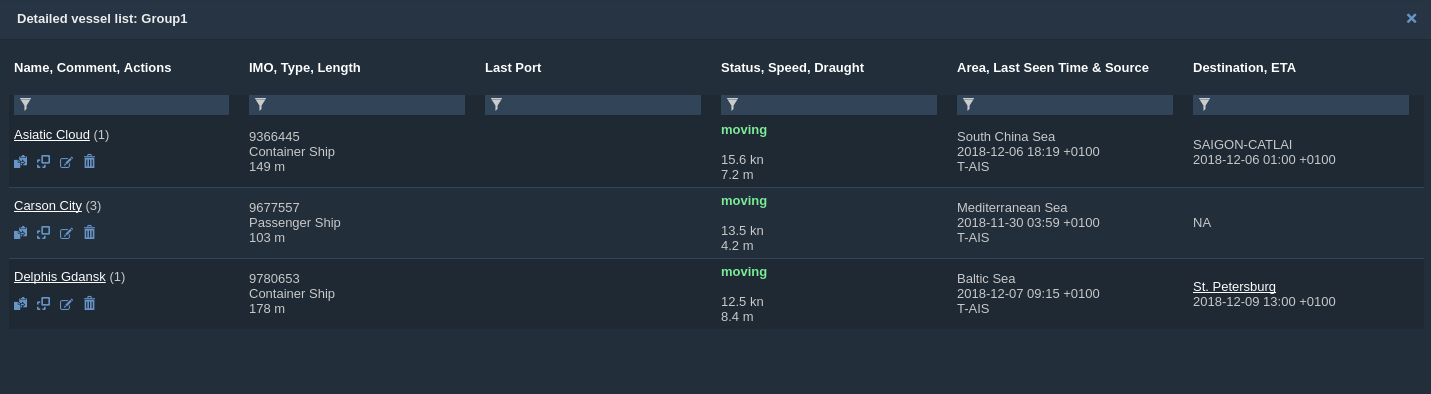
Detailed vessel list
Click on the list icon next to a vessel group name to open a tab showing detailed information about each vessel in the list.
You can filter information by typing in the filter text box at the top of each column, for example: 
Organizing vessels by color
Vessels that are in a My Vessels group will be shown on the map with a colored circle around them. The default color is white, but there are a total of 7 different colors that use can use.
To change the color of a vessel group or a single vessel within a group, use the color selector square: 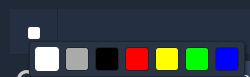
Check  and uncheck
  the color you want to filter My Vessels groups by color.